


I don’t trust credit cards. I don’t even like the fundamental concept of them.
Economies have pretty much always relied on debt. This isn’t some modern innovation, it’s ancient. So ancient, in fact, that the Bible explicitly warns against it multiple times:
“The borrower is servant to the lender.” — Proverbs 22:7
Credit cards are designed—intentionally—to rope people in, especially young people, and turn them into lifelong debt slaves. If you don’t pay off your balance in full, it racks up serious interest. Add in late fees, annual fees, and penalty APRs, and it can become a brutal cycle of financial strain.
People tend to spend more when using credit cards than when paying with cash. That’s because there’s no immediate sense of loss. It detaches you from the consequences. Naturally, this encourages poor budgeting and impulse buying. So when online services force you to use a credit card, it’s especially shitty.
They lure people into living beyond their means and chasing materialism, both directly opposed to Jesus’ warning about storing up treasures on Earth.
Some people will say, “just be more responsible, bro lol.”
As if any societal problem in history has ever been solved by telling people to “just” do anything. No one in the history of ever has just done anything. And they’re not going to start now.
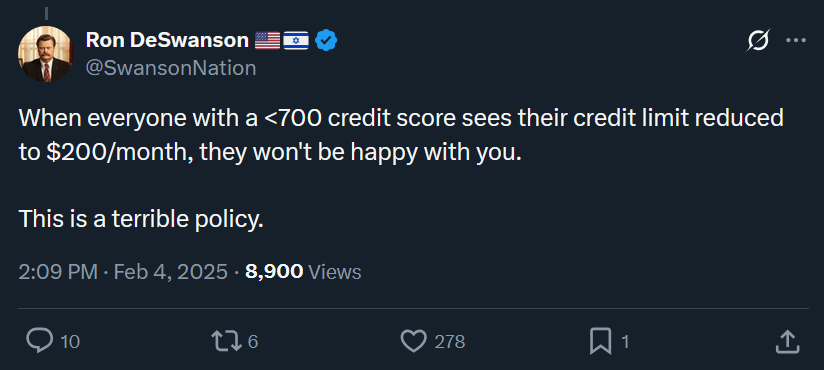
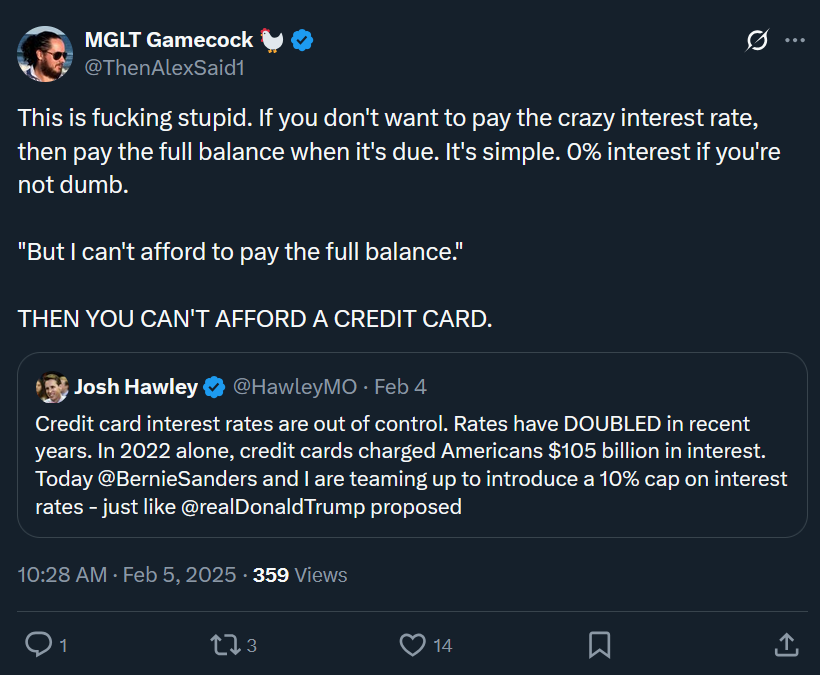
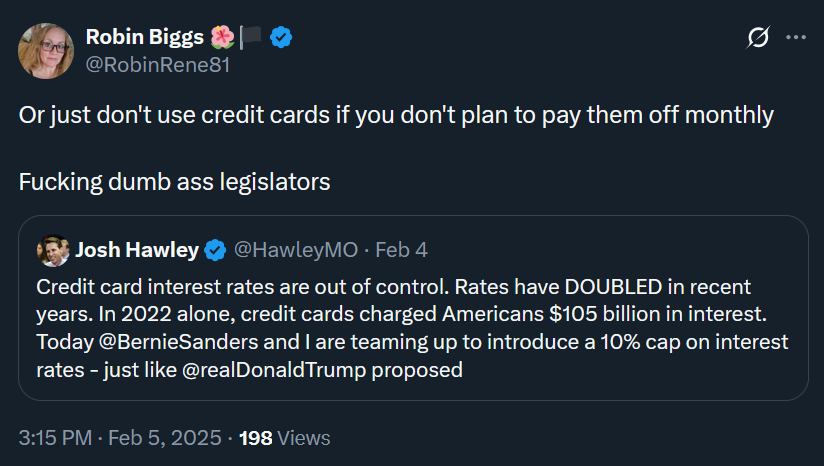
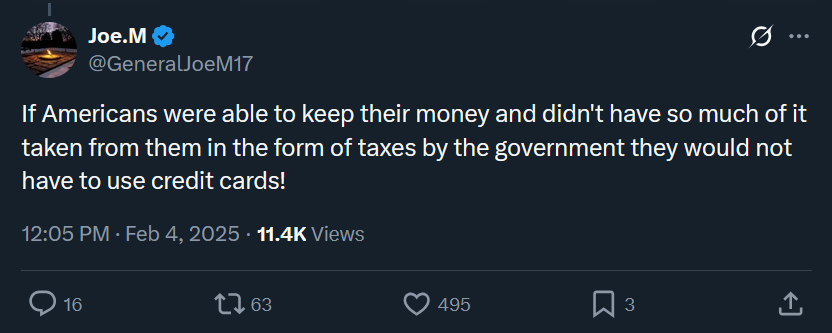
When Senators Josh Hawley and Bernie Sanders introduced a bill capping credit card interest rates at 10%, a bunch of dipshit conservatives clutched their pearls over it. They panicked and said stuff like:
BuT lEsS pEOpLE WIlL HAvE CREDIT CaAAARRDS!!!!


Let’s not forget: banks don’t actually like giving you “points.” You only get them because someone else failed to pay their balance and is now getting drained by interest. The banks make their profit off of them, and that surplus gets funneled into your rewards.
They’re not giving out free money out of the goodness of their hearts. They’re robbing the less fortunate to make you feel like you’re winning. Let’s call it what it is: usury. And usury is theft.
If the Antichrist is alive today, this is definitely one of his masterpieces, right alongside hormonal birth control and Domino’s.
This post ended up just being a huge bitchpost, I don’t have any solutions to give. I just wanted to scream because it’s my site and I can write whatever I want.
In conclusion: credit cards are literally (literally) works of the Antichrist. Just use Cash App.